Table of Contents
ToggleA stuck window is more than an inconvenience, it’s a safety issue and a comfort problem. Whether you’re dealing with a residential window that won’t open or close, or tackling a driver side window motor replacement in your vehicle, understanding how to replace a window motor can save you hundreds in labor costs. Modern windows rely on electric motors to operate smoothly, and when they fail, the fix is often straightforward enough for a confident DIYer. This guide walks you through diagnosing the problem, gathering the right tools, and completing the replacement yourself, plus knowing when to call in a professional.
Key Takeaways
- Window motor replacement is a feasible intermediate DIY project that can save hundreds in labor costs if you’re mechanically inclined and follow safety protocols like disconnecting power first.
- Diagnose the actual problem before replacing the motor by checking for warning signs like slow grinding movement, clicking sounds, or intermittent operation—sometimes the issue is a blown fuse or loose connection rather than motor failure.
- Always verify your replacement window motor’s part number, voltage, and compatibility with your specific window system to avoid installing the wrong unit, which will result in immediate failure or system damage.
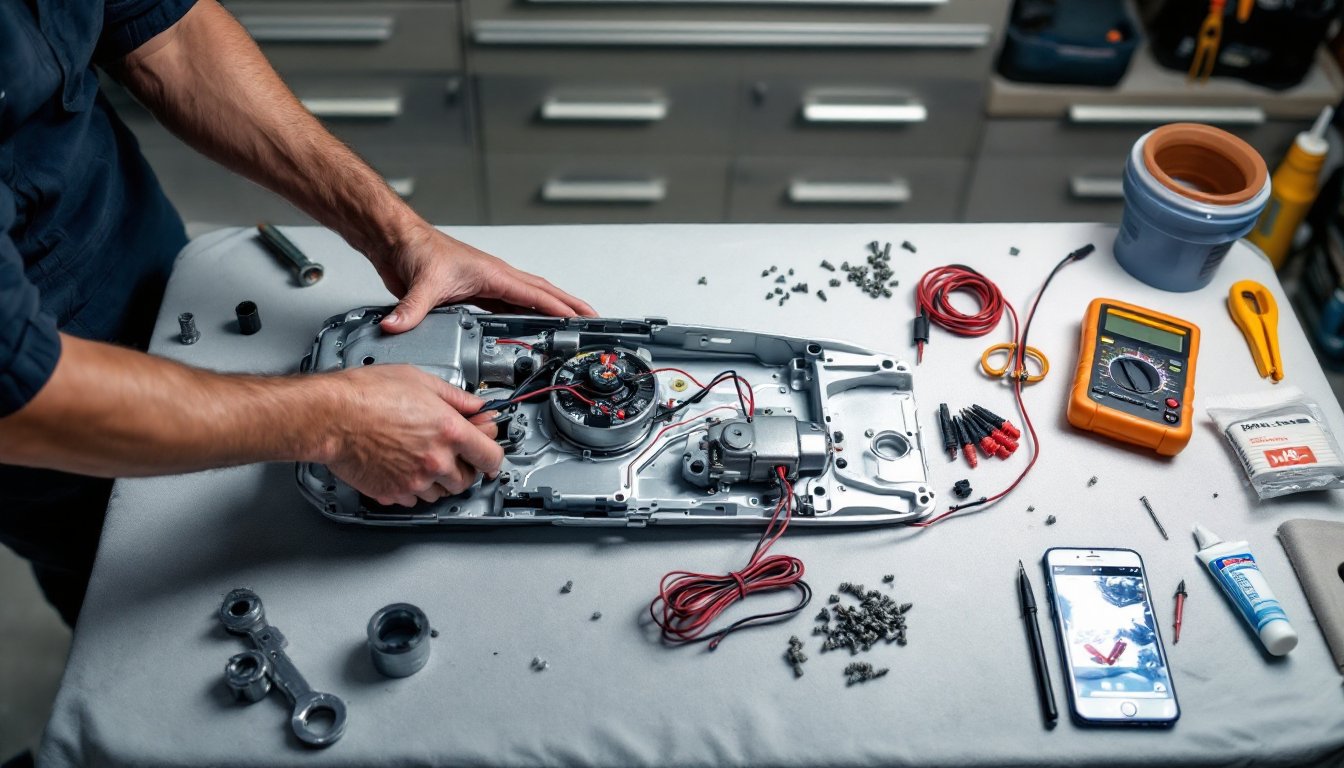
- Essential tools for window motor replacement include socket sets, wire strippers, a multimeter, panel removal tools, and dielectric grease for electrical connectors—proper tools prevent stripped fasteners and premature corrosion.
- Test window operation during reassembly before fully closing door panels or walls, allowing you to troubleshoot issues easily rather than discovering problems after everything is buttoned up.
- Call a professional if the window regulator is cable-driven, the motor is soldered to circuit boards, or you lack comfort with electrical work—professional labor typically costs $150–$400 depending on location and window type.
Signs Your Window Motor Needs Replacement
Before diving into replacement, confirm that the motor itself is the culprit. A window motor that’s failing typically shows distinct warning signs.
Slow or grinding window movement is often the first clue. If the window operates but moves sluggishly or makes grinding noises, the motor may be losing power or internal gears may be wearing. Complete failure, where the window won’t move at all even though the switch working, usually points to a dead motor or blown fuse (check that first).
Listen for a clicking sound when you press the button. A rapid clicking often indicates an electrical connection issue, not motor failure. Intermittent operation where the window works sometimes but not others can signal a failing motor or a loose wiring connection.
Other clues include the window going partially down then stopping, or responding only after multiple button presses. These point to motor strain or internal damage. In automotive windows, a motor grinding against mechanical resistance may overheat and burn out quickly if the window regulator is bent or stuck. Always test the electrical system and regulator before replacing the motor, sometimes the fix is simpler than a full motor swap.
Understanding Window Motor Types and Compatibility
Window motors come in several types, and using the wrong replacement is a common mistake that leaves the window stuck.
Permanent magnet DC motors are the most common in both automotive and residential windows. These motors operate on 12 volts (cars) or standard household voltage (homes) and offer consistent torque. Brushless DC motors are newer and more efficient, often found in high-end vehicles and smart home windows. They produce less noise and last longer, though they cost more upfront.
Before ordering a replacement, gather your original motor’s part number, usually printed on a label on the motor itself. Cross-reference it on the manufacturer’s website or use an auto parts database. For automotive windows, the motor and regulator assembly sometimes come together: check whether you need just the motor or the entire regulator. For home windows, verify that your new motor matches the voltage and mounting pattern of the old one.
Compatibility matters. Installing a motor rated for 24 volts into a 12-volt system, for example, will burn it out immediately. If you’re unsure, bring the old motor or a clear photo to an auto parts store or home improvement center. Staff can match it to the correct replacement. Many suppliers, including HomeAdvisor, provide guidance on matching parts to your specific window type and age.
Tools and Materials You’ll Need
Gather these items before starting. Improper tools often lead to stripped fasteners or damaged window panels.
Essential tools:
- Socket set (10 mm, 13 mm, and 15 mm sockets common for automotive: screwdriver bits for home windows)
- Ratchet wrench
- Screwdrivers (Phillips and flathead)
- Wire strippers and crimpers for electrical connections
- Multimeter to test voltage and continuity
- Panel removal tools (plastic pry bars, not metal flatheads that can crack trim)
- Work gloves and safety glasses
- Drop cloth or old blanket (motors and regulators are greasy)
Materials:
- Replacement window motor (correct part number and voltage)
- Dielectric grease for electrical connectors
- New fasteners if old ones are damaged (typically M6 or M8 bolts for automotive)
Optional but helpful:
- Jack and jack stands (if working on a car)
- Work light or headlamp for visibility inside door panels or wall cavities
- Camera or phone to photograph connector placement before disconnection
For residential windows, you may need to remove drywall or access panels. Have a drywall saw and patching compound on hand if your window is built into a wall cavity. Specialized tools like gear pullers are rarely necessary for basic motor replacement, but check your specific model’s service manual first.
Step-by-Step Replacement Process
The exact steps vary between automotive and residential windows, but the process follows a similar logic. Always disconnect the battery or power supply first to prevent electrical shock or accidental window operation.
For automotive windows (driver side window motor replacement example):
- Disconnect the battery. Remove the negative terminal. Wait a few minutes to discharge residual power.
- Remove the door panel. Use panel removal tools to gently pry off trim pieces and clips. Unbolt interior door handles and switches as needed. This typically requires removing 6–8 fasteners. Take a photo of the panel before removing it so you remember where clips go.
- Locate the window regulator and motor assembly. It sits behind the door panel, attached to the door frame with bolts and wiring connectors.
- Disconnect electrical connectors. Unplug the motor’s power and ground wires. Note the wire colors (typically red for power, black for ground) or photograph them before disconnecting.
- Remove the regulator assembly bolts. These usually require a 10 mm or 13 mm socket. Remove the bolts holding the regulator to the door frame.
- Unbolt the old motor from the regulator. Depending on design, the motor may bolt directly to the regulator or slide into a bracket. Remove fasteners and carefully separate the motor.
- Install the new motor. Align the new motor with the regulator mounting points. Use new fasteners if the old ones are corroded or damaged. Hand-tighten first, then torque to spec (usually 70–100 inch-pounds for automotive motors).
- Reconnect electrical connectors. Apply a tiny amount of dielectric grease to the connector pins before plugging in. This prevents corrosion and ensures solid contact.
- Reinstall the regulator assembly. Bolt it back to the door frame using the original bolt holes. Cycle the window up and down a few times to ensure smooth operation before proceeding.
- Reinstall the door panel. Line up the clip receptacles and press firmly until clips seat. Reattach fasteners and interior components.
- Reconnect the battery and test. Operate the window fully up and down multiple times. Check for binding or noise.
For residential windows in walls:
- Cut or remove access panel. If the motor is inside a wall cavity, you’ll need to cut drywall or remove an existing panel.
- Disconnect power to the window circuit. Flip the breaker or unplug the power supply.
- Unbolt the old motor. Most residential motors bolt to a frame or mounting bracket inside the cavity. Remove fasteners using appropriate sockets or screwdrivers.
- Disconnect wiring. Carefully separate electrical connectors or cut wires if they’re soldered (you’ll need to splice the new motor’s wires with wire nuts or solder).
- Install the new motor. Position it in the same location and orientation as the old one. Bolt it securely.
- Connect wiring. Match wire colors or use a multimeter to identify live, neutral, and ground connections. Twist wires together and secure with wire nuts, or solder and heat-shrink if you’re experienced.
- Patch and seal. Use drywall putty to fill the access hole. Paint once dry.
- Test the window. Restore power and operate the window fully before finishing trim work.
Common Mistakes to Avoid During Installation
Small errors during installation often result in binding windows, electrical failures, or having to redo the entire job.
Installing the wrong voltage motor is costly and irreversible. A 24-volt motor in a 12-volt system will burn out within minutes. Double-check part numbers before purchase. Skipping the battery disconnect (on automotive windows) risks shock or the window closing unexpectedly while your hands are inside the door panel. Always disconnect power first, even if it seems inconvenient.
Forgetting to apply dielectric grease to electrical connectors invites corrosion. Over time, corroded connections create resistance, and the motor fails prematurely. A small amount on connector pins (not the whole plug) prevents oxidation.
Over-tightening fasteners strips threads, especially on plastic regulator brackets. Tighten snugly, then stop. If you feel resistance, back off a quarter turn. Not cycling the window during reassembly leaves you guessing whether it works until everything is buttoned up. Test operation before closing the door panel, it’s far easier to troubleshoot then.
Mixing wire colors or forgetting which connector goes where causes the motor to spin the wrong direction or not spin at all. Photograph connections before disconnecting, or use a multimeter to trace live and ground wires. Reusing old fasteners that are corroded or stripped weakens the assembly. New bolts cost a few dollars: a regulator that falls loose during operation costs hundreds.
When to Call a Professional vs. DIY
Replacing a window motor is an intermediate DIY project. It’s achievable for someone with basic mechanical skills and the right tools, but it’s not beginner-level.
Do it yourself if: You’re comfortable removing interior panels, reading wiring diagrams, and troubleshooting electrical systems. You have the right tools and a clean workspace. The motor is clearly accessible and straightforward to mount (like a simple regulator assembly without cable routing). You have time and patience, rushing leads to mistakes.
Call a professional if: The window regulator is cable-driven (older style), and reassembly requires precise cable tensioning. The motor is soldered to the circuit board (rare, but some high-end windows have this). You lack a multimeter or wire-crimping tools and don’t want to buy them for a one-time job. The door or window frame is damaged or shows signs of rust around the motor mounting points, structural issues need professional assessment. You’re uncomfortable working with electricity.
Professional labor typically runs $150–$300 for automotive windows and $200–$400 for residential windows, plus parts. If the part itself is under $50 and you’re mechanically inclined, DIY makes sense. How to Fix a Car Power Window offers additional troubleshooting for automotive windows if you’re stuck. For regulator replacement (not just motor), specialized guides on regulator repair can clarify whether you’re tackling just the motor or the whole assembly.
Conclusion
Replacing a window motor is an achievable project that rewards careful planning and attention to detail. Verify the failure before buying parts, confirm compatibility, use the right tools, and don’t skip safety steps. If you’re mechanically confident and willing to take your time, you’ll save significant money. When in doubt, a professional handles the job reliably, sometimes that’s the smarter choice.