Table of Contents
ToggleA GE dishwasher that won’t start, leaves spots on glasses, or leaks water across your kitchen floor can quickly turn a convenient appliance into a headache. Before you pull out your phone and schedule an expensive service call, there’s a good chance you can diagnose and fix the problem yourself. Most GE dishwasher issues stem from simple fixes, a tripped breaker, a clogged spray arm, or a misaligned door latch. This guide walks you through the most common GE dishwasher troubleshooting steps, so you’ll know exactly what’s wrong and whether it’s a DIY fix or genuinely needs professional attention.
Key Takeaways
- GE dishwasher troubleshooting often starts with simple checks like resetting a tripped breaker, inspecting the door latch, and verifying the power switch—fixes that resolve about 80% of no-start problems.
- Clogged spray arms and dirty filters are the leading causes of poor cleaning performance; clearing these with vinegar and a paperclip takes just 10 minutes and costs almost nothing.
- Most drainage issues stem from kinked hoses, stuck check valves, or loose connections rather than pump failure, making them quick DIY fixes before calling a professional.
- Water leaks are usually caused by worn door gaskets, loose hose clamps, or loose inlet connections; tightening clamps and replacing degraded gaskets are 15-30 minute repairs.
- Using quality detergent at the manufacturer’s recommended amount prevents residue buildup and excess suds that can cause leaks and poor washing results.
- Always turn off the water supply before working on hoses and pinpoint the leak source before attempting repairs to avoid water damage.
Dishwasher Won’t Start or Power On
A dishwasher that won’t respond when you press the start button is frustrating, but the cause is usually straightforward. Start with the simplest checks first, these catch about 80% of no-start problems.
Check Electrical Connection and Power Supply
Your first move: look at the breaker panel. Walk to your home’s electrical panel and check whether the breaker serving the dishwasher has tripped to the “Off” position. It’ll be between “On” and “Off,” not centered. Switch it back to “On.” If the breaker trips again immediately after you start a cycle, stop, you likely have a short in the unit or wiring, and you’ll need a licensed electrician.
If the breaker is fine, test the outlet itself. Plug a lamp or phone charger into the dishwasher’s outlet (you may need to move the unit slightly to access it). If the lamp doesn’t turn on, the outlet is dead. Check the breaker again, and if it holds, call an electrician. If the outlet works with other devices but the dishwasher still won’t power on, you’re looking at an internal control board issue, which requires professional service.
One often-missed detail: some GE models have a hidden power switch tucked behind the kickplate at the bottom of the unit. Look for a small rocker or toggle switch down there. It’s easy to accidentally bump it to “Off” during cleaning or maintenance.
Inspect the Door Latch and Control Panel
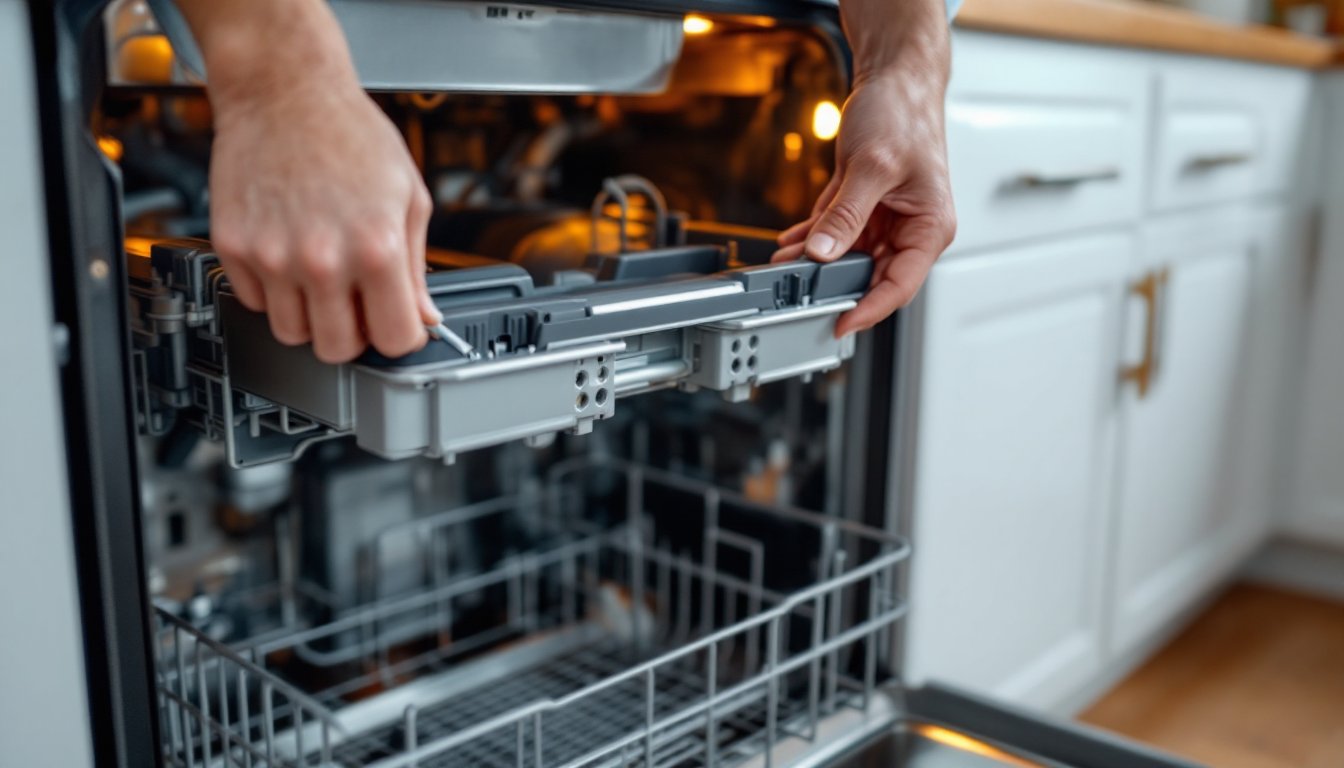
The dishwasher won’t start if the door latch isn’t properly engaged. This safety feature prevents water from spilling if the door pops open mid-cycle. Open the door fully and look at the latch mechanism where the door meets the frame. It should click firmly when you close it. If it feels loose or doesn’t click, the latch may be bent or worn. Try closing the door with a bit more force, sometimes the latch assembly just needs a firm, deliberate push. If it still won’t catch, the latch assembly needs replacement. This is a 30-minute DIY job: unplug the dishwasher, access the latch from inside the door panel (held by a few screws), and swap in a new one (around $40–80 depending on your model).
Also check the control panel itself. Look for any obvious damage, moisture, or burn marks. If you spot water inside the panel, the unit likely needs professional service. If everything looks dry and intact, try the start button several times in quick succession, occasionally a sticky button just needs a nudge. If the button feels mushy or doesn’t respond at all, the control panel may have failed and require replacement by a professional technician.
Poor Cleaning Performance and Residue Issues
Cloudy glasses, food residue on plates, or spots left behind after a cycle usually means either clogged spray arms, a dirty filter, or using the wrong detergent type. The good news: these fixes take 10 minutes and cost almost nothing.
Clean Spray Arms and Filter System
Start here: pull out the lower rack and locate the spray arm assembly. You’ll see two rotating arms with small holes underneath, these spray jets need to be perfectly clear. Over time, hard water mineral deposits, food particles, and detergent residue clog the holes, reducing water pressure and coverage. Remove the spray arm by twisting or pressing the clips (your manual will show the exact method for your model, every GE design differs slightly). Hold it up to a light and look through each hole. If you see buildup, soak the arm in white vinegar for 30 minutes, then use a straightened paperclip or small dowel to carefully clear each hole. Rinse thoroughly and reinstall.
Next, check the filter. GE dishwashers have a mesh filter basket at the bottom of the tub, plus a fine-mesh screen above it. Food waste and debris accumulate here, blocking water circulation. Pull out the lower rack, then twist or press the filter assembly to release it (again, check your manual for the exact motion). Rinse both layers under running water, scrubbing gently with a soft brush or old toothbrush. If you see stubborn buildup, soak the filters in hot water with a dishwasher cleaning tablet for 15 minutes. Rinse and reinstall, making sure everything clicks back into place snugly.
While you’re in there, wipe down the spray arm housing where it connects to the water inlet. Mineral deposits can restrict water flow. A quick vinegar wipe solves this. According to How to Get Cleaner Dishes in the Dishwasher, these simple maintenance steps resolve the majority of cleaning complaints. Finally, make sure you’re using quality detergent pods or powder, not dollar-store brands. Cheap detergent leaves residue and doesn’t dissolve properly in modern machines designed for premium formulas. And never use hand-washing dish soap, it foams up and overflows.
Water Drainage Problems
A dishwasher that won’t drain leaves standing water and stale odors. The problem is usually a clogged drain hose, a stuck check valve, or a kinked connection, rarely a pump failure.
Start by checking the drain hose routing. Pull out your dishwasher slightly (unplug it first) and look at the rubber hose running from the back of the unit to your sink drain or garbage disposal. If the hose is kinked, pinched, or looped too high under the counter, water can’t flow out. The drain hose should run slightly downhill toward the drain without any high points that trap water. Straighten any kinks, and if the hose has cracks or holes, it needs replacing (about $15–30).
Next, trace the hose to where it enters the sink drain or disposal. If it’s connected to a garbage disposal, make sure the disposal’s drain plug (a rubber or plastic cap inside the disposal) is removed, new disposals often have this plug still installed. Pull it out if present. If you see standing water in your sink, the clog might be in the main drain line, not the dishwasher itself. You’ll need to clear the drain using a plumber’s snake or call a plumber.
If the hose route is fine and the disposal drain is open, locate the drain pump filter inside the dishwasher (usually near or part of the filter assembly you just cleaned). Remove any food debris, hair, or buildup. This filter also sometimes has a small check valve that can stick. If the filter looks clean but water still won’t drain, the check valve may need replacement, or the drain pump could have failed, both require professional service. As a temporary measure, you can manually bail out the water with a cup and get the unit serviced at your convenience.
Leaking Water
Water pooling under or around your dishwasher needs immediate attention, but the leak is usually fixable without a service call.
First, pinpoint where the water is coming from. Is it escaping from the door, the bottom of the unit, or the back where the hoses connect? Check the door gasket (the rubber seal around the door edge) for cracks, hardening, or visible damage. Over years of heat and moisture, gaskets degrade. If you see cracks or the rubber feels stiff, the gasket needs replacement (a 15-minute job: unscrew the old gasket from inside the door panel, snap in the new one, and you’re done, $30–60). Also inspect the door latch: a broken latch means the door won’t close fully, and water leaks out during the cycle.
If the leak is at the bottom, pull out the lower rack and check the drain hose connection at the back left corner of the tub. Hose clamps can loosen over time. Tighten the clamp with a flathead screwdriver (turn clockwise). If the hose itself is punctured or cracked, it needs replacement.
For leaks from the back of the unit where hoses connect to the water inlet, turn off the water supply to the dishwasher (locate the shutoff valve under your sink, usually labeled). Tighten the inlet hose connection by hand (or with a wrench if it’s very tight) to reseal it. If tightening doesn’t stop the leak, the hose connection ferrule (the compression fitting) may be damaged, requiring hose replacement.
One overlooked cause: if you’re using too much detergent, excess suds overflow from the door. Excess suds can also indicate a faulty detergent dispenser that’s not closing properly, allowing detergent powder to pour out during the fill phase. Reduce detergent to the manufacturer’s recommended amount (usually one pod or one tablespoon of powder for a full load). If leaking persists after tightening hoses and sealing the door, have a technician inspect the pump seal and float switch, which control water level, these failures require professional repair. Always turn off the water supply to the dishwasher before attempting any hose work, and never ignore active leaks, as water damage compounds quickly. Resources like Today’s Homeowner offer detailed seasonal maintenance checklists that help prevent many of these issues.